K-Lens
Live camera intelligence for the Karios platform. K-Lens deploys as a Karios plugin, pulls video from an ONVIF-compatible IP camera into your zone, and adds a new K-Lens section to Control Center with pages for live viewing, recordings, activity, alerts, and known faces.
        flowchart LR
 Cam[ONVIF IP camera<br/>RTSP :554] --> KL[K-Lens deployment<br/>in Karios zone]
 KL --> Rec[Recordings<br/>7 days rolling]
 KL --> Det[Detection<br/>NVIDIA vGPU]
 KL --> CC[Control Center<br/>K-Lens sidebar]
What you get
Once K-Lens is set up, a K-Lens section appears in the Karios sidebar with five pages.
Cameras
Live video tiles with recording and connection status. Open a camera full-screen to watch live, see detected people and vehicles outlined in real time, and switch recording, detection, and audio on or off.
Recordings
A scrubbable day-by-day timeline of everything recorded. Jump to any moment and download a clip as an MP4.
Activity
A chronological list of what the camera saw, filterable by person, vehicle, or motion. Each entry carries a snapshot and a clip.
Alerts
A review queue of noteworthy events. Mark items as reviewed to clear them, and filter by what is still outstanding.
Faces
Add the people you want recognized, upload reference photos, and confirm or correct matches. Recognized names then appear on live video and in activity.
Before you begin
K-Lens runs inside your Karios zone and pulls video directly from your camera. Check all five requirements below before you start. A missing one will stop setup partway through.
1. Platform access
Permissions. An account that can manage plugins and deploy workloads in Karios.
Scope. One K-Lens deployment per Karios installation. If a deployment already exists, the setup form is replaced by the camera dashboard.
2. A GPU host
K-Lens will not deploy without a GPU. Detection and the live video feed both run on it.
Hardware. At least one host in the zone with an NVIDIA GPU and at least one active vGPU profile.
Encoder. Choose a profile that includes the NVIDIA hardware video encoder (NVENC). A profile without one still works, but live video is encoded in software and will stutter at full camera resolution.
3. Compute and storage capacity
Resource |
Minimum |
Recommended |
Notes |
|---|---|---|---|
vCPU |
6 |
6 |
Enforced by the form. |
Memory |
1024 MB |
8192 MB |
8 GB is the default and the tested figure. |
GPU |
1 |
1 |
Plus a vGPU profile. |
System disk |
30 GB |
30 GB |
Set automatically. You do not choose it. |
Recording storage |
100 GB |
See below |
A separate volume, sized by you at setup. |
Sizing the recording volume
K-Lens keeps 7 days of continuous recording and then discards the oldest footage. How much space that needs depends entirely on your camera’s bitrate.
Camera bitrate |
Per day |
7 days |
|---|---|---|
2 Mbps |
~21 GB |
~150 GB |
4 Mbps |
~42 GB |
~300 GB |
6 Mbps |
~63 GB |
~450 GB |
8 Mbps |
~84 GB |
~600 GB |
Add headroom. Find the bitrate in your camera’s own settings, under the main (highest-quality) stream. The volume cannot be resized after setup without redeploying K-Lens, so size it generously.
5. The camera
Cameras. One ONVIF-compatible IP camera per K-Lens deployment.
ONVIF. Required. ONVIF Profile S must be enabled on the camera and reachable on TCP port 80. K-Lens uses it to identify the camera and discover its stream URLs. Cameras without ONVIF are not supported.
Address. On the same subnet as the Shared guest network above. This is the most common cause of a camera that tests fine and then never streams.
Streams. Both a main stream and a substream enabled on the camera. The main stream is recorded; the substream is what detection runs on. H.264 and H.265 are both supported.
RTSP. Video is pulled over RTSP on TCP port 554.
Credentials. A camera username and password with permission to view live video. Some cameras require a separate ONVIF user account. Check your camera’s user settings if the test fails.
Offline and air-gapped sites
K-Lens does not need internet access. The camera image is delivered with the plugin or staged on the management node by your Karios administrator, and served to the cluster over TCP 8811. Karios opens that port for you.
Setting up K-Lens
Setup is a one-time sequence of four steps. Expect the whole thing to take about 10 minutes, most of it waiting.
Step 1: Install the K-Lens plugin
Go to K-Store > Plugins. Install K-Lens from the catalogue, or, if your
site is offline, choose Import and upload the signed .kbundle file
supplied to you. Do not close the dialog while the upload runs.
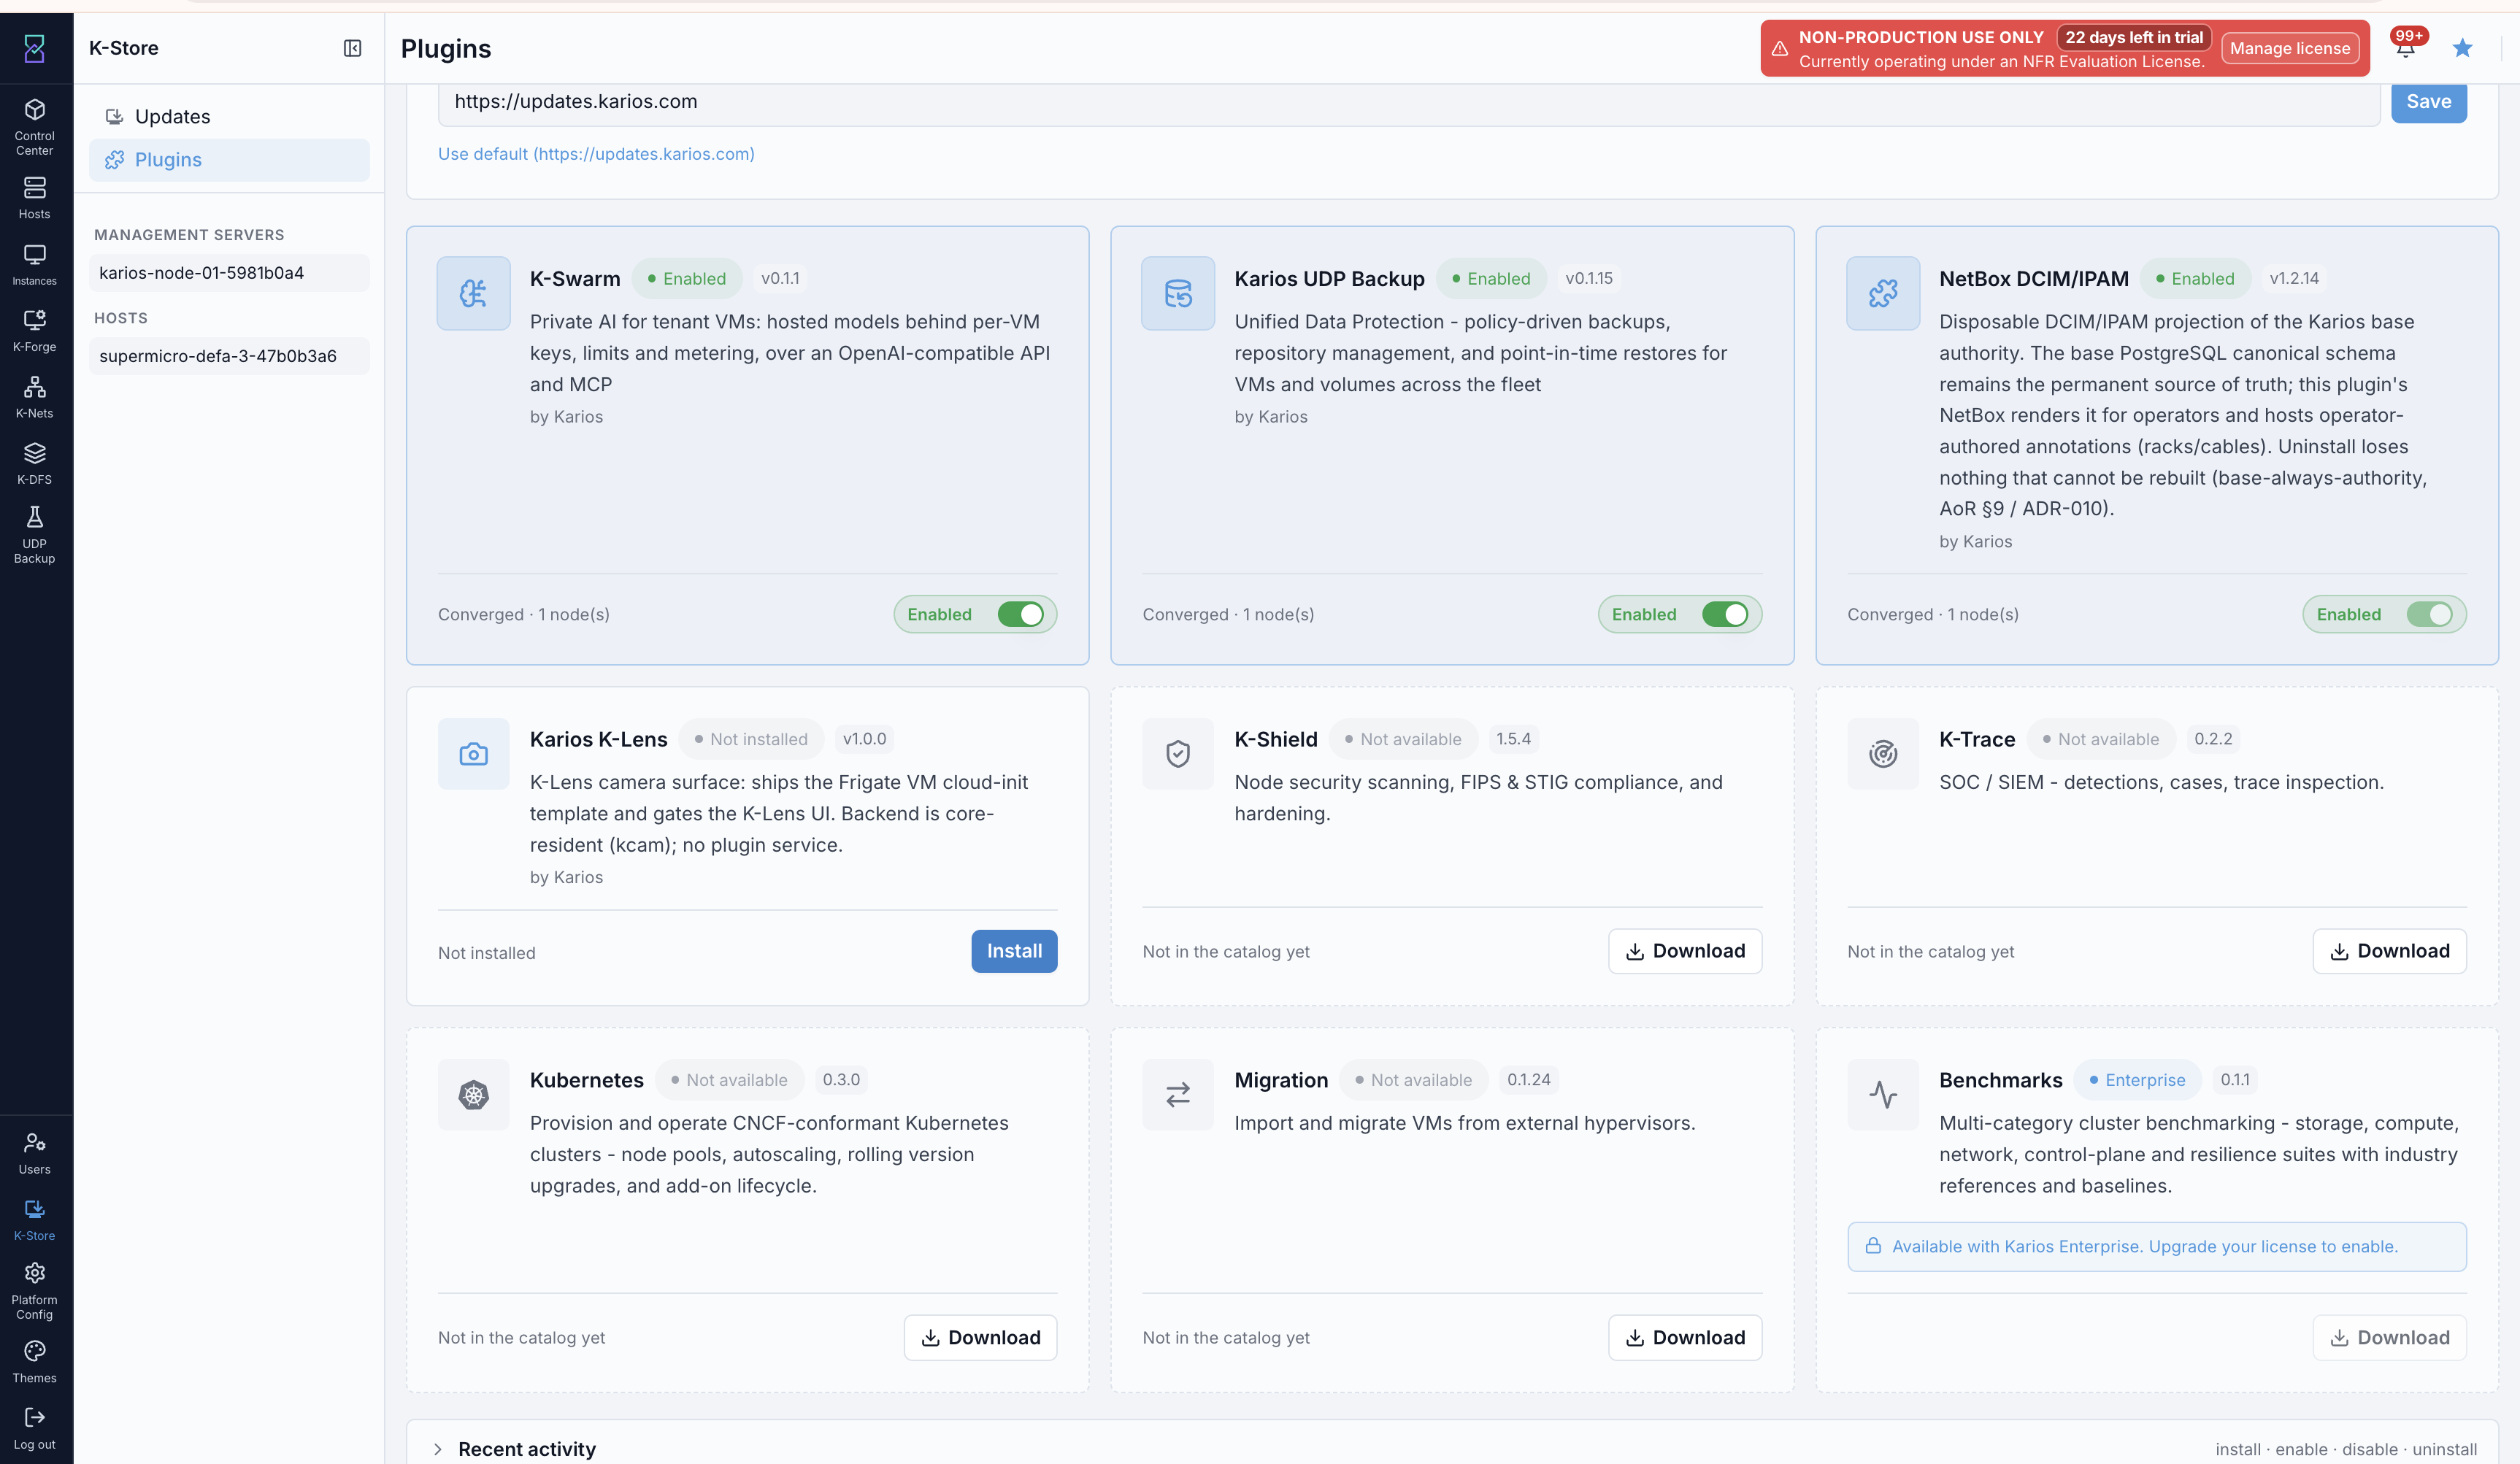
K-Store Plugins page, K-Lens install dialog. Do not close this dialog while the upload is in progress.
When the plugin is enabled, a K-Lens section appears in the sidebar.
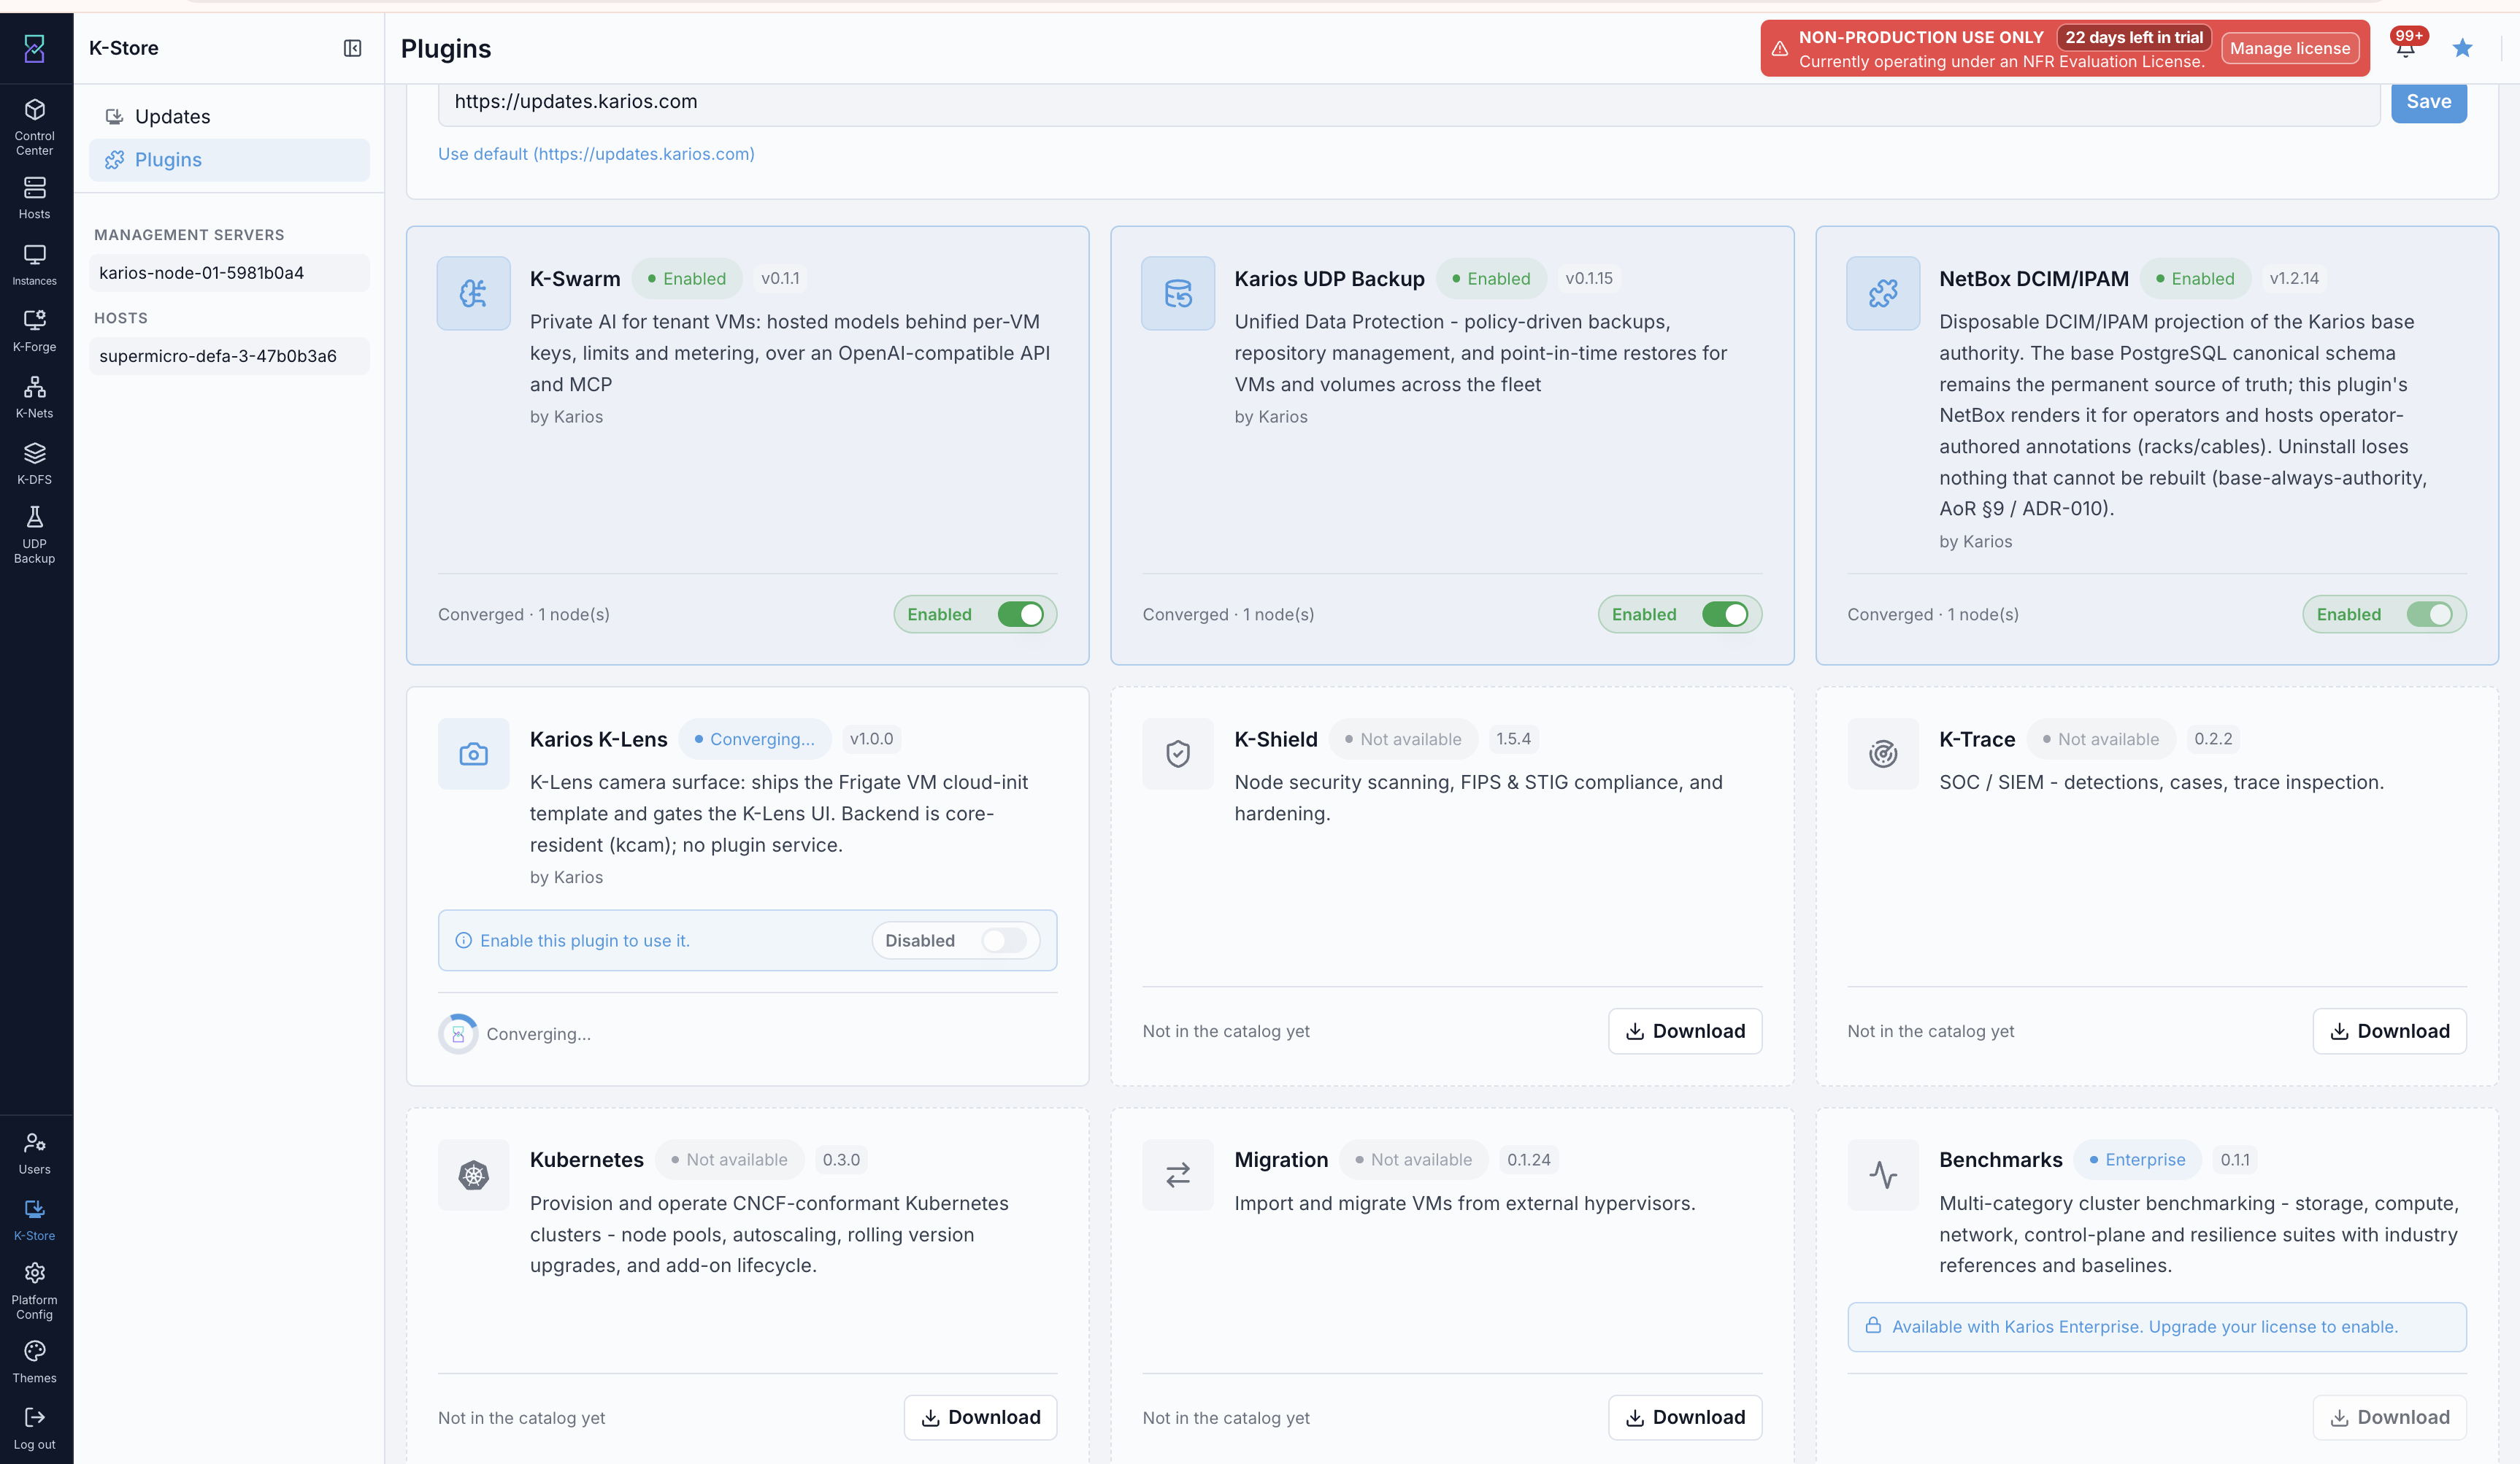
K-Lens plugin card after install. Select Enable to add the K-Lens section to the Control Center sidebar.
Step 2: Prepare the camera image
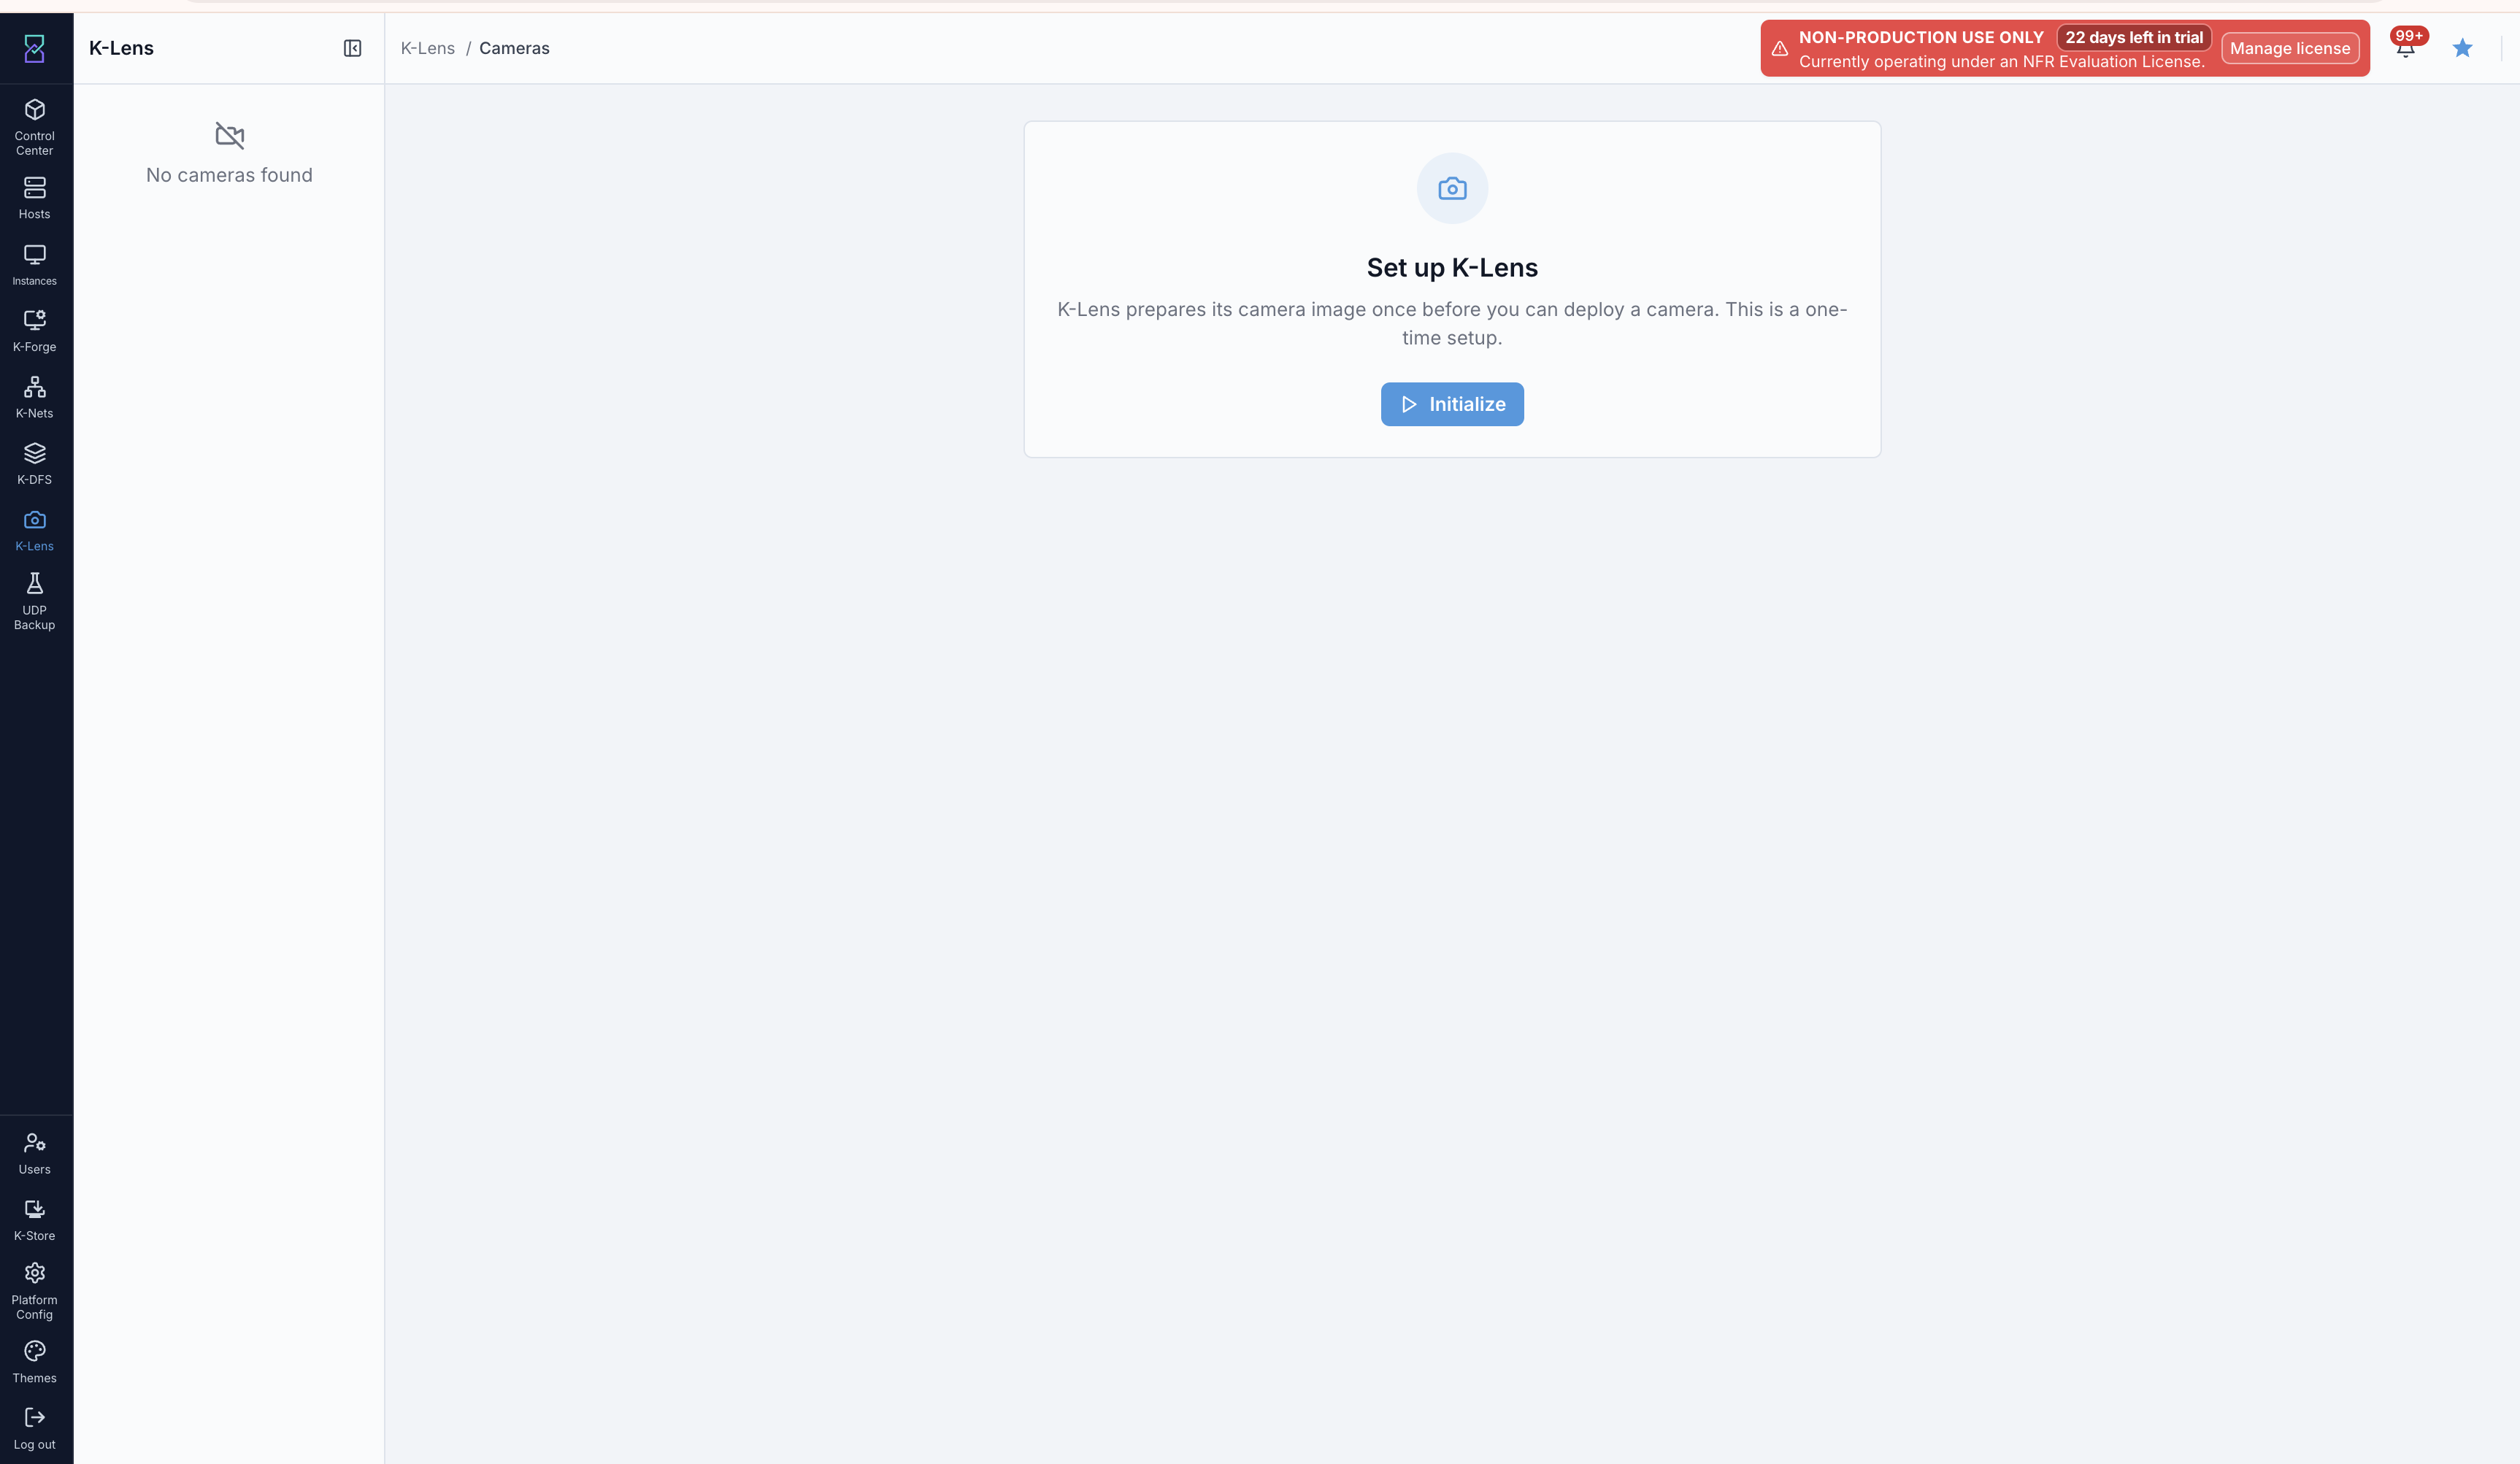
Open K-Lens > Cameras. The first time, you are offered Set up K-Lens. Select it and Karios prepares the camera image on this node, showing progress as it goes. This is a one-time step. Later K-Lens deployments skip it.
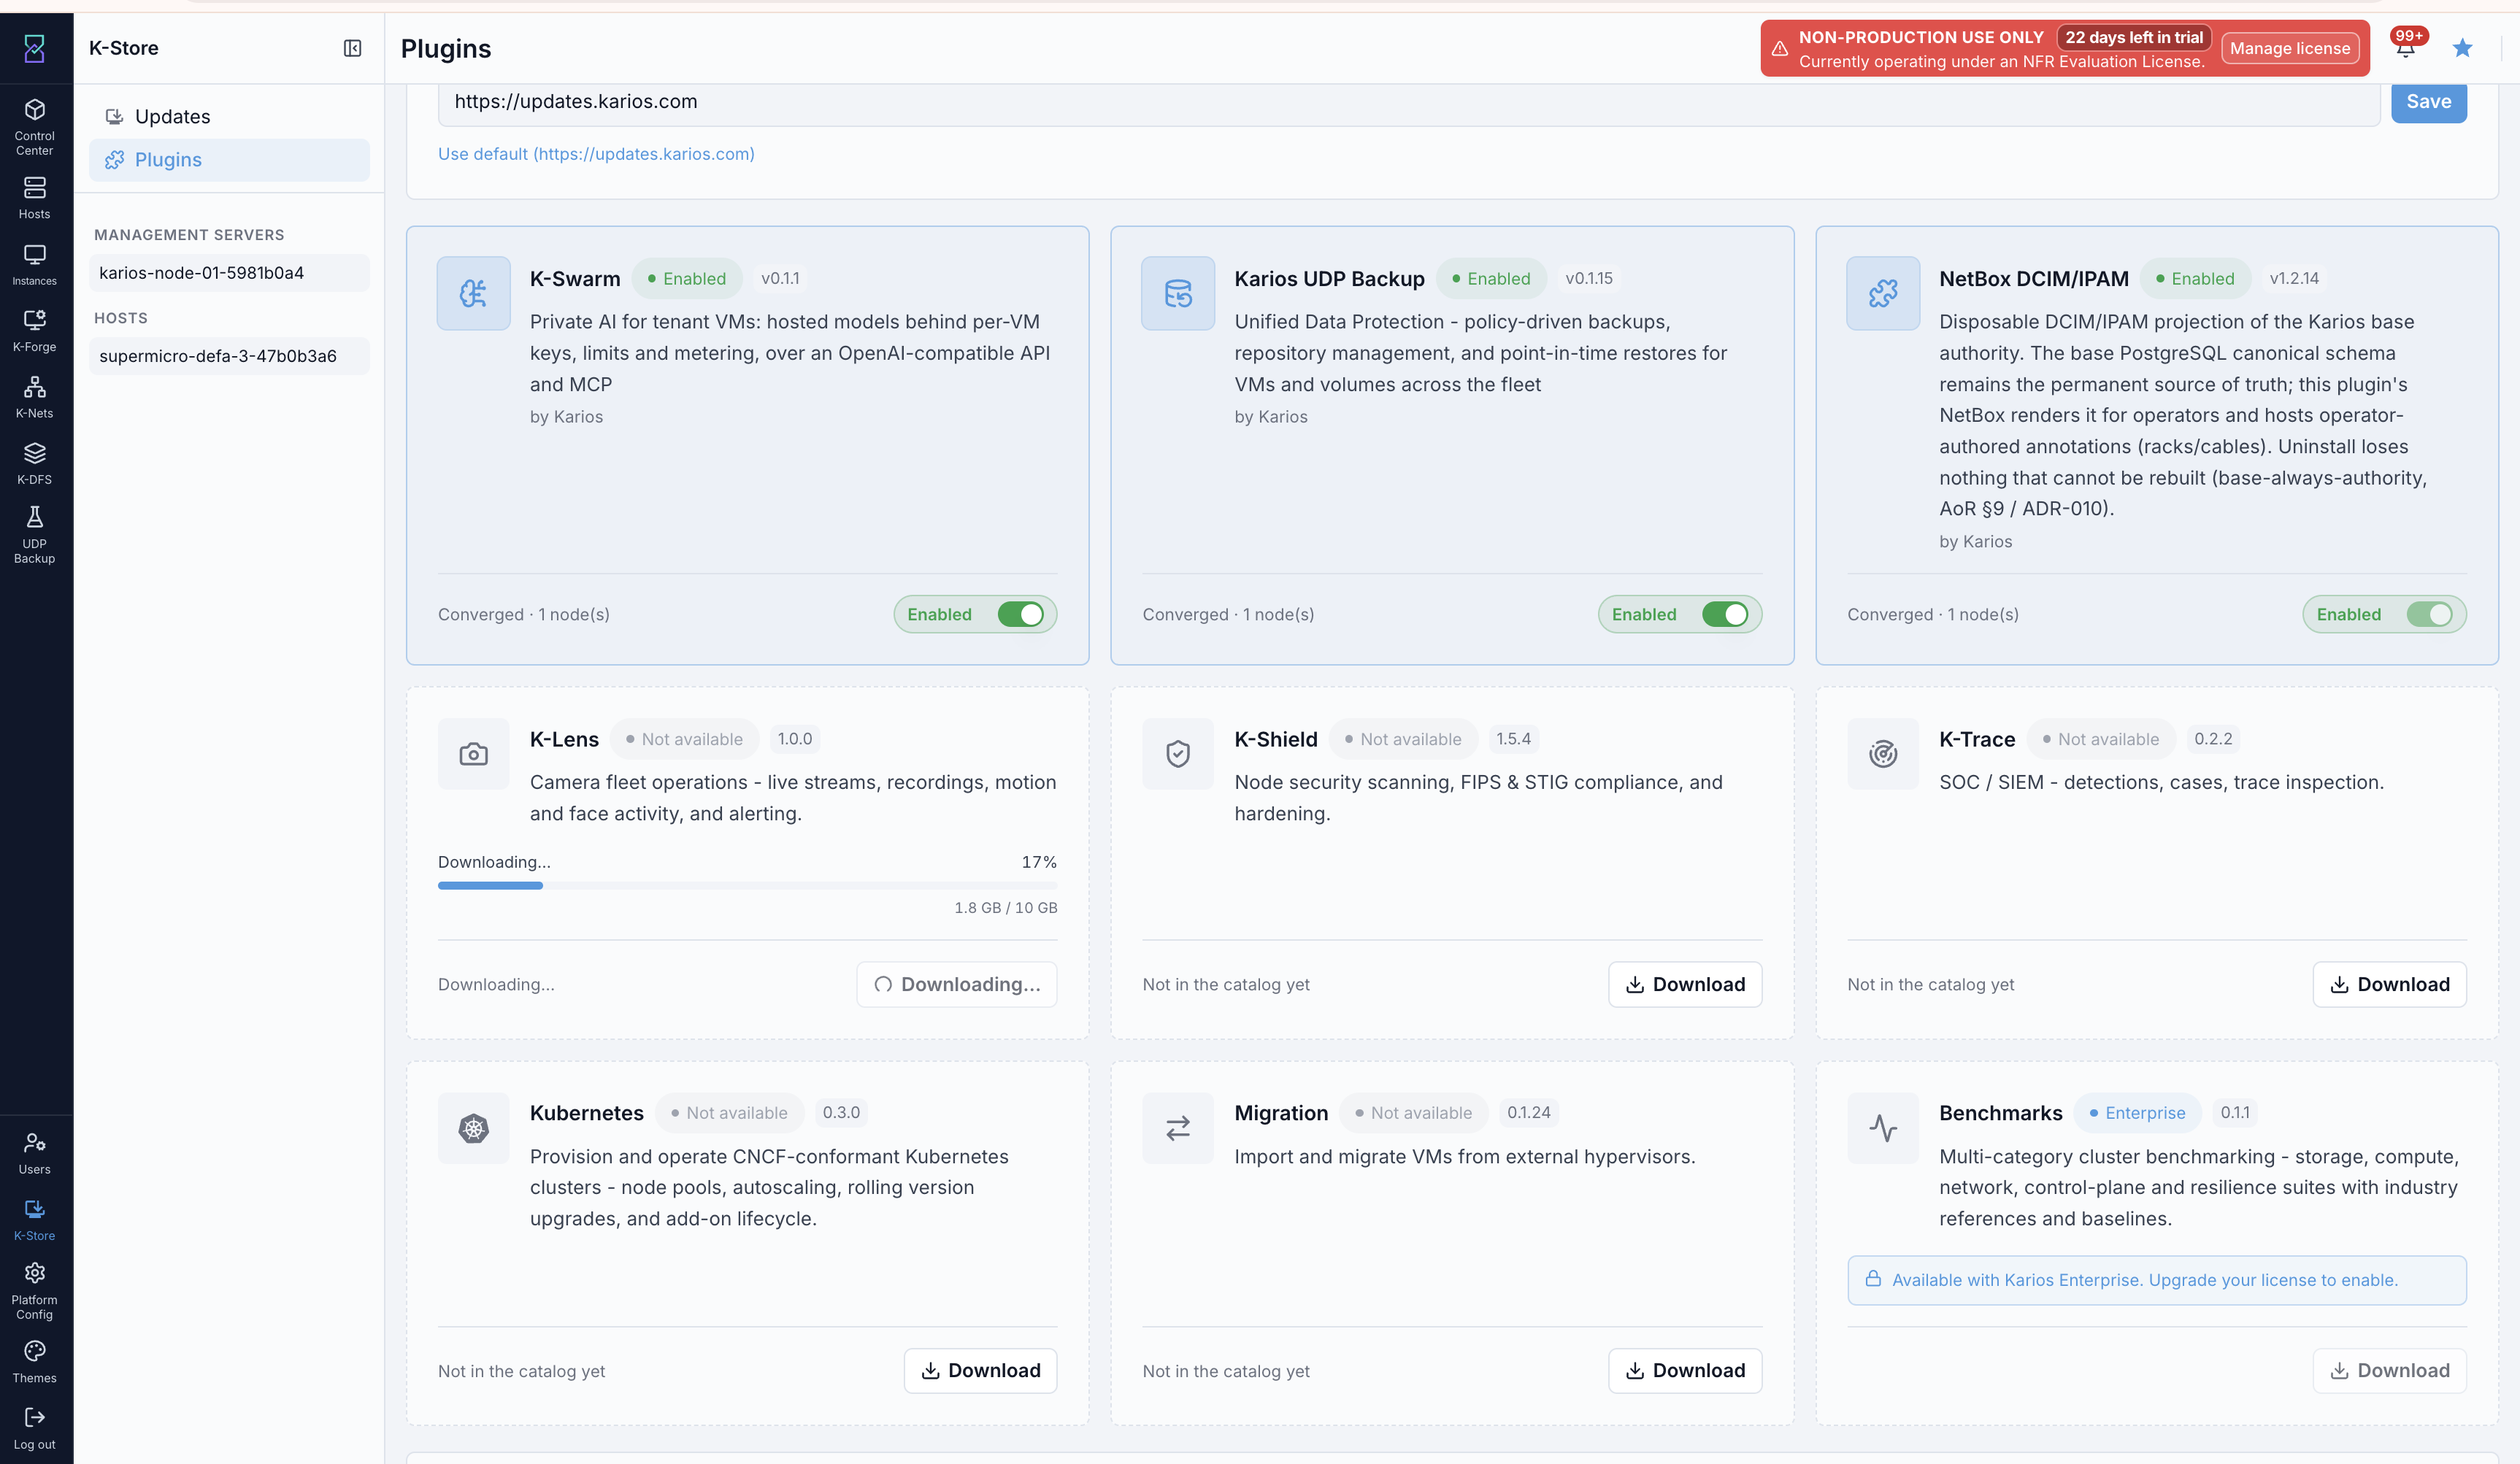
First-time K-Lens Cameras page. The Set up K-Lens action prepares the camera image on this node.
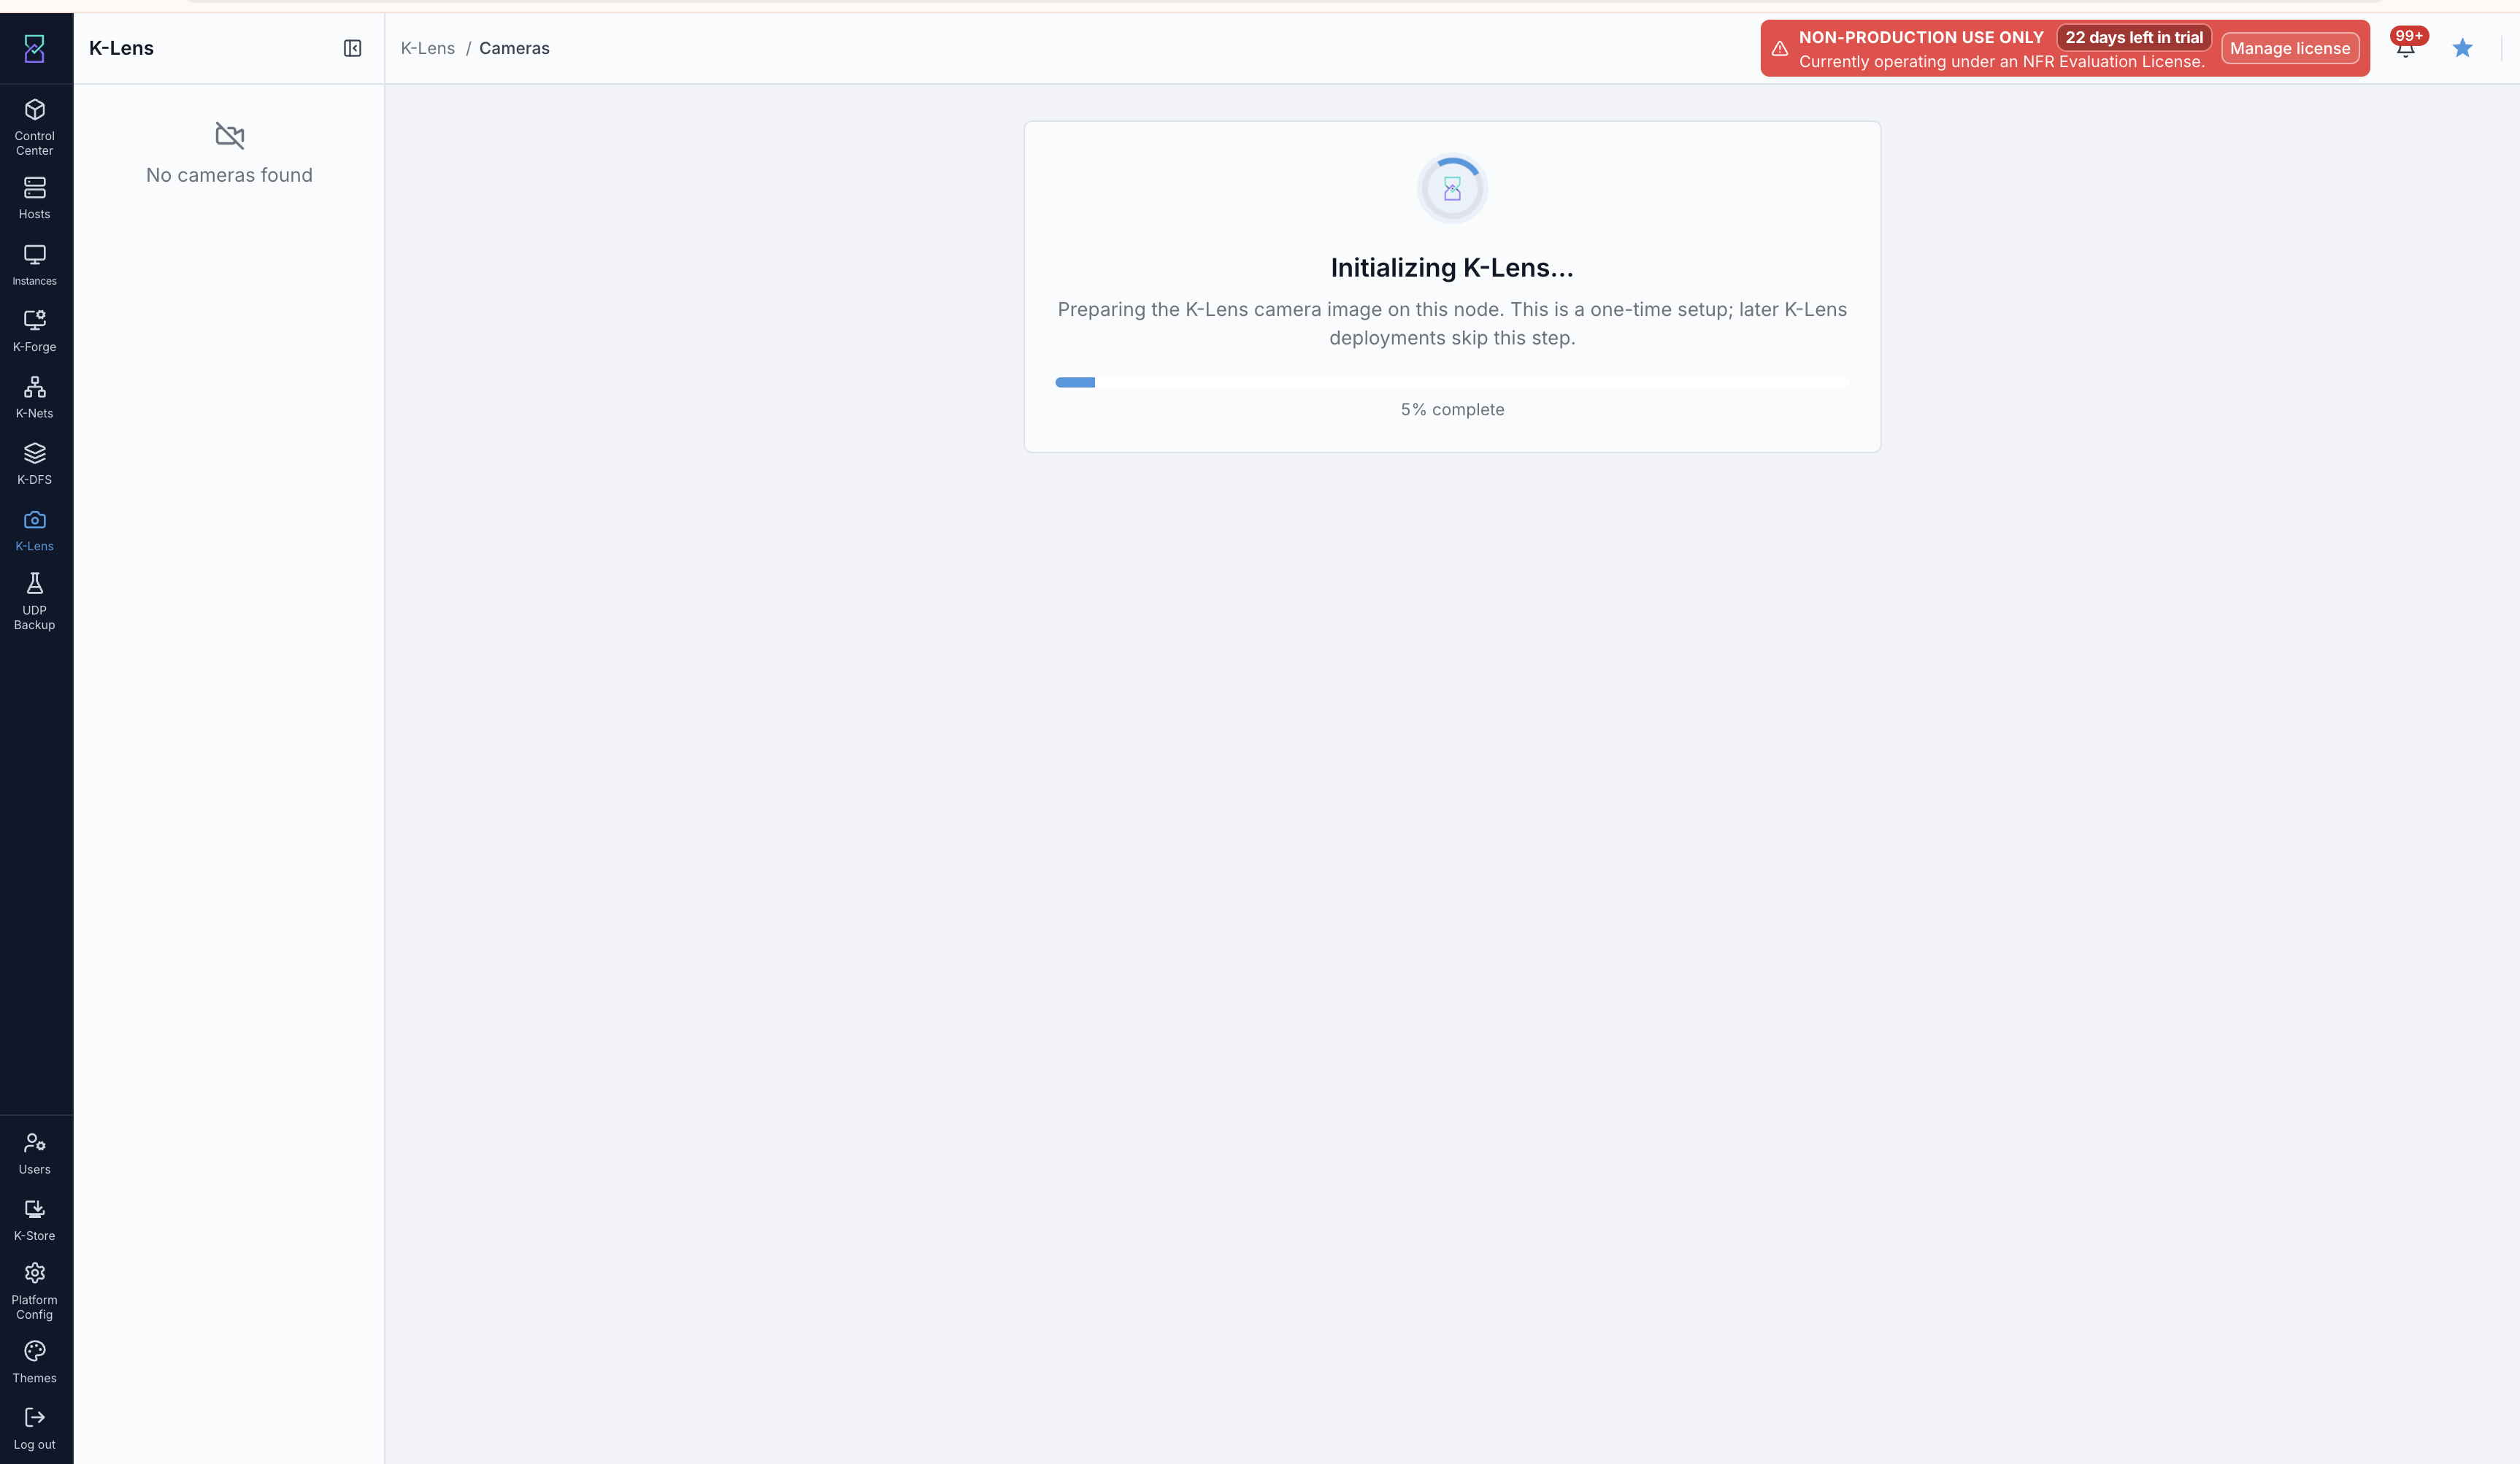
Initialization landing. Progress is shown while the camera image is prepared.
Step 3: Fill in the setup form
The zone is chosen for you. Complete the rest:
GPU offering. Cores, memory, GPU count, and a vGPU profile from the dropdown.
Recording storage. The volume size in GB, from your sizing above.
Network. Your Shared guest network.
Camera. IP address, username, and password, then select Test camera.
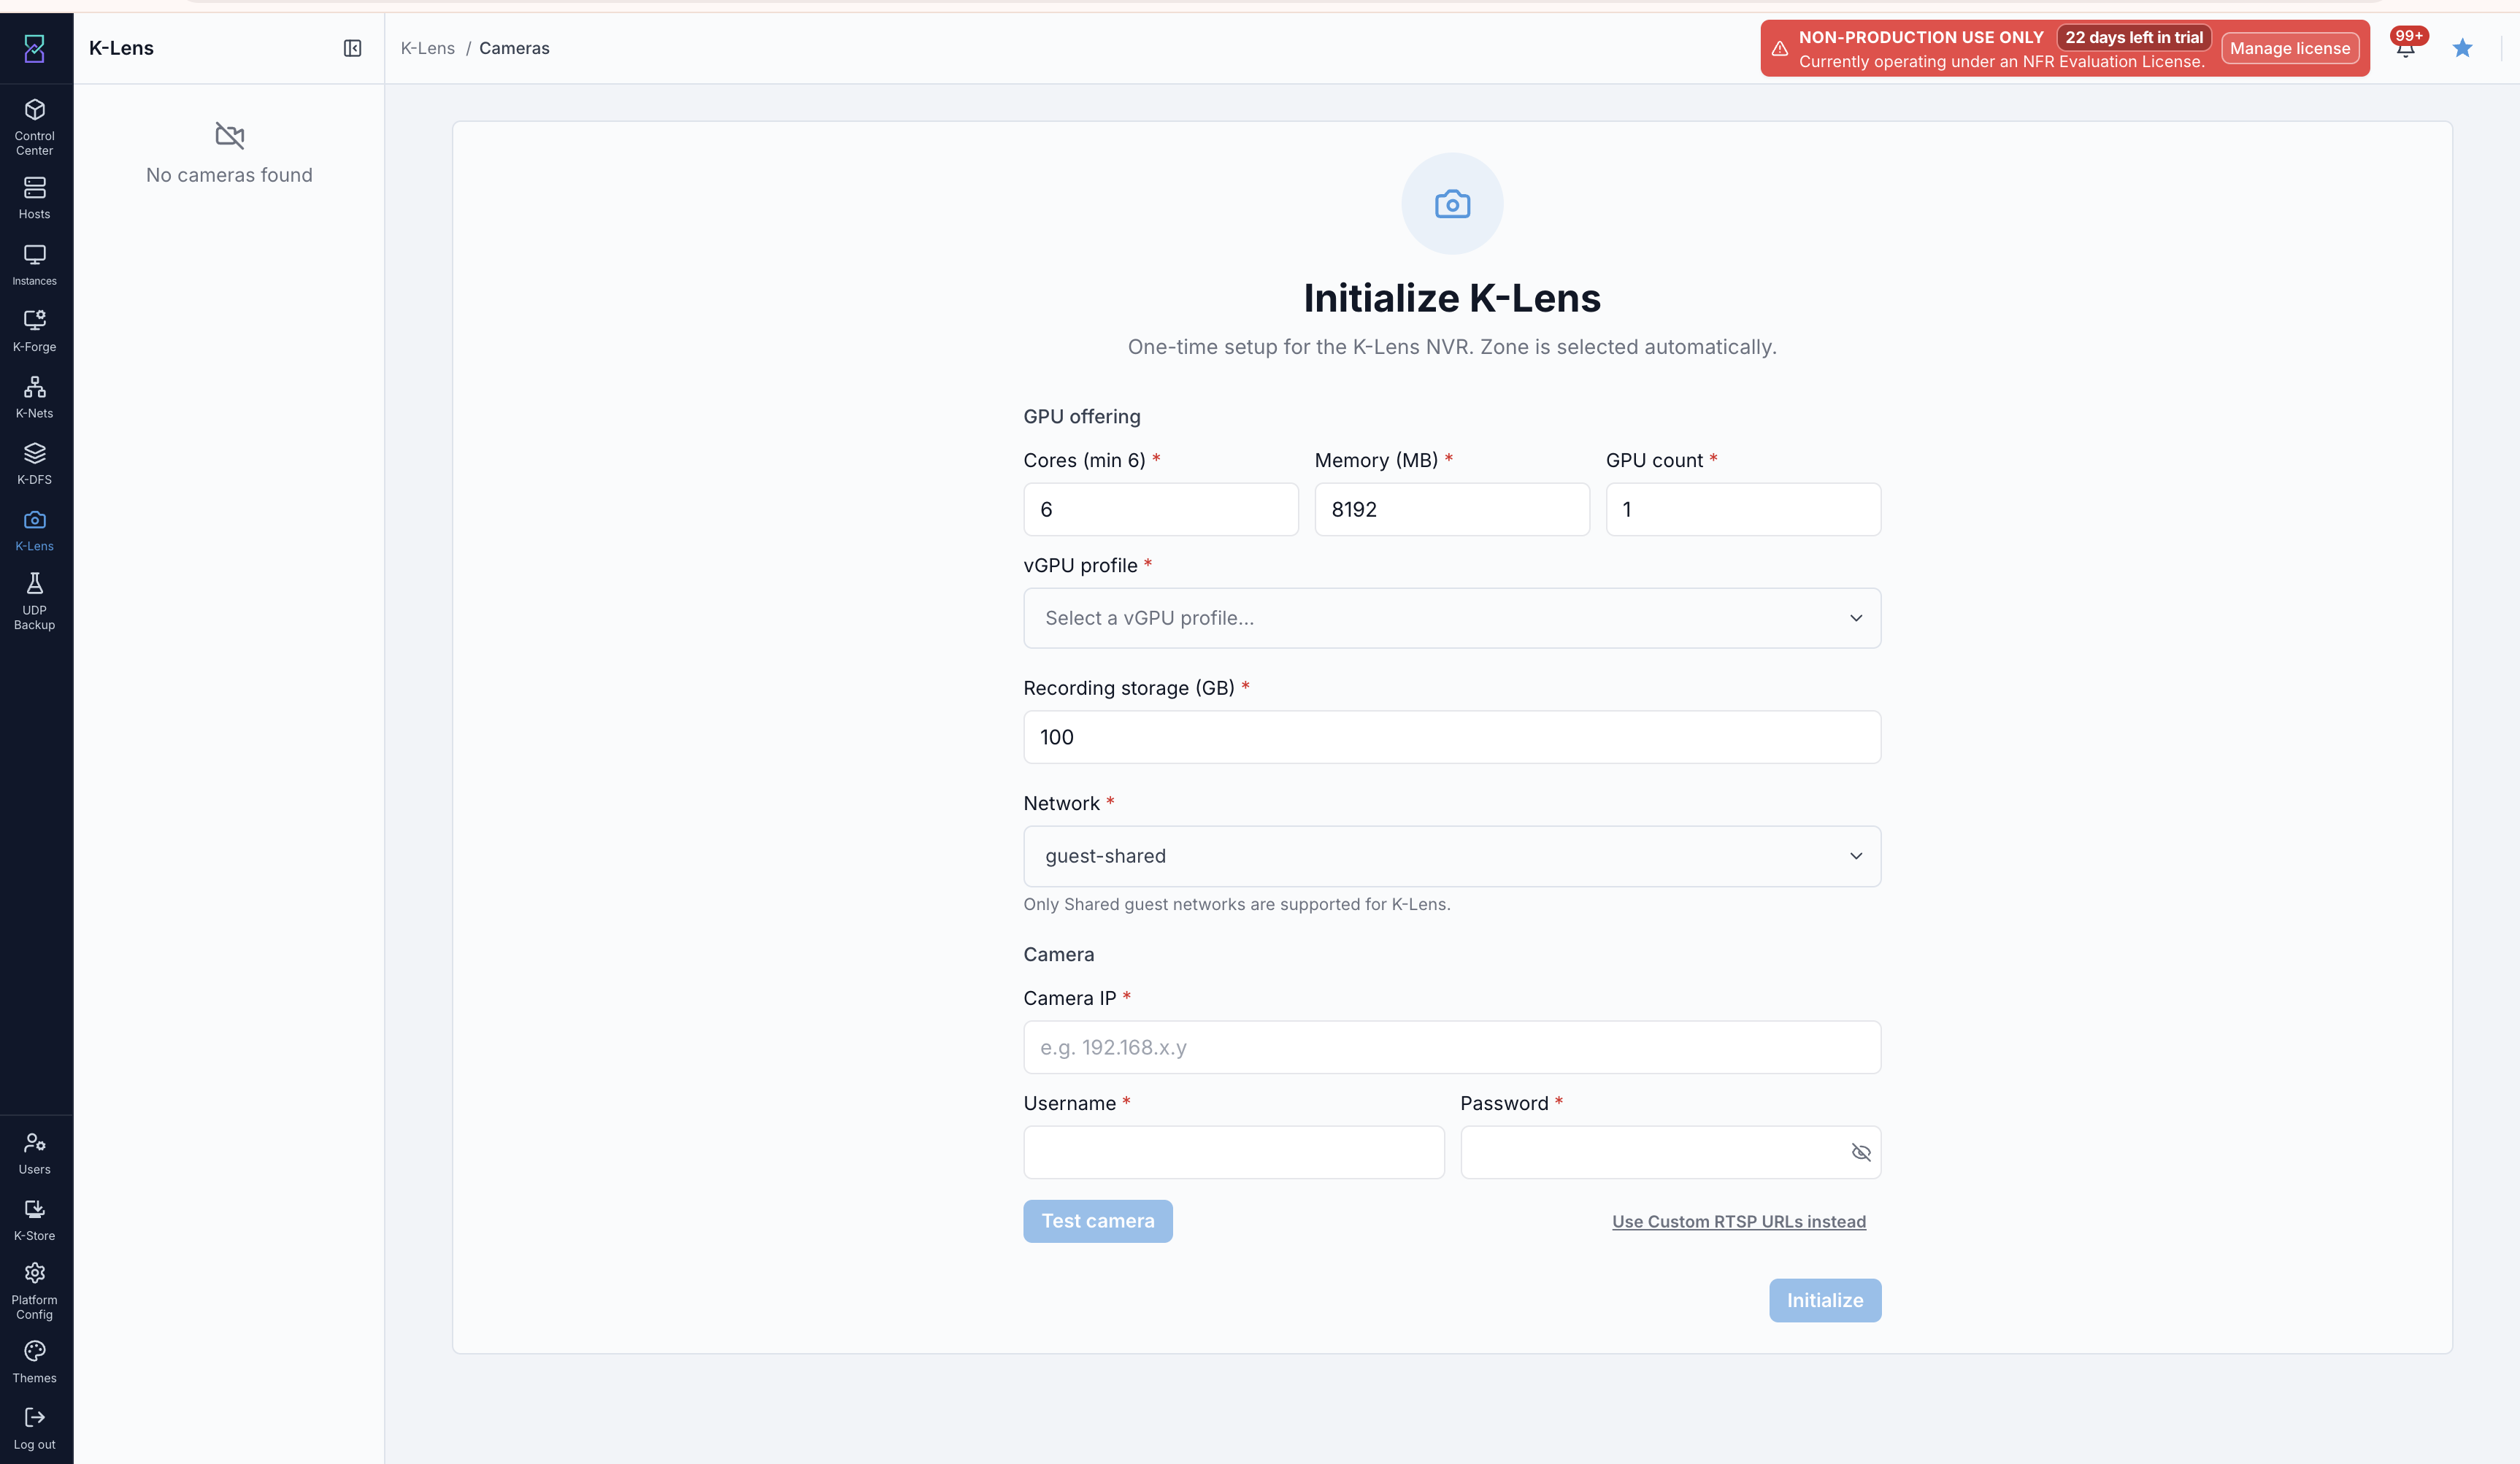
K-Lens setup form. Test camera must pass before Initialize becomes available.
A successful test shows the camera’s make, model, and the stream profiles it found. You cannot continue until the test passes. This is deliberate, so a wrong address or password is caught before anything is deployed. Then select Initialize.
Step 4: Wait for K-Lens to start
Karios deploys K-Lens and shows progress. It is normally ready in about 5 minutes. The very first deployment can take up to 20 minutes while the camera image is copied into storage.
When it finishes, the Cameras page opens with your camera live. There is nothing else to set up. K-Lens secures the connection to the camera service itself, so there is no password for you to create or store.
K-Lens Cameras page after successful setup. The camera tile shows the live feed and its recording status.
Using K-Lens
Watching live
On K-Lens > Cameras, each camera shows as a live tile. A red dot means it is recording; the badge reads Live or Offline. Select a tile to open the full view, where you can:
Turn Record, Detect, and Audio on or off for that camera.
See people and vehicles outlined as they are detected.
See a recognized person’s name on the video, once you have added them under Faces.
Finding and saving footage
On K-Lens > Recordings, pick a camera and a day, then scrub the timeline to any moment. Select Download to save a section as an MP4. Up to 30 minutes per clip, saved to your browser’s downloads folder.
Reviewing what happened
K-Lens > Activity lists events newest first, filterable by camera and by person, vehicle, or motion. Each event opens with its snapshot and clip, and can be deleted.
K-Lens > Alerts is the queue of events worth a second look. Filter by Unreviewed, Reviewed, or All, and mark items reviewed as you work through them.
Teaching K-Lens a face
On K-Lens > Faces:
Select Add person and give them a name.
Upload clear reference photos of their face, up to 10 MB per photo. Several angles work better than one.
As K-Lens attempts matches, confirm the correct ones and remove the wrong ones. Recognition improves with each correction.
Limits and defaults
Item |
Value |
|---|---|
Deployments per Karios installation |
1 |
Cameras per deployment |
1 |
Recording retention |
7 days |
Objects tracked |
People, vehicles |
Clip download length |
30 minutes |
Face photo upload size |
10 MB |
Supported cameras |
ONVIF Profile S |
Supported network type |
Shared guest network |
Supported video codecs |
H.264, H.265 |
Retention, tracked object types, and the recording volume size are fixed once K-Lens is deployed. To change the volume size, delete the deployment and set it up again.
Troubleshooting
What you see |
What to do |
|---|---|
K-Lens is missing from the sidebar |
The plugin is not enabled. Check K-Store > Plugins. |
No Shared networks available |
Create a Shared guest network, then reopen the form. |
No vGPU profiles in the dropdown |
No host in the zone has an active vGPU profile. Add a GPU host or activate a profile. |
Camera rejected the credentials |
Re-check the username and password. Some cameras need a separate ONVIF user with its own password. |
Camera unreachable, check IP and ONVIF settings |
Confirm the IP address, that it is on the same subnet as the Shared network, and that ONVIF is enabled on the camera. |
Camera does not implement ONVIF |
This camera cannot be used. Enable ONVIF Profile S in the camera’s settings if supported, otherwise choose an ONVIF-compatible camera. |
Live video stutters or lags |
The vGPU profile has no hardware encoder. Delete the deployment and set it up again with an NVENC-capable profile. |
|
K-Lens is still starting. If it has not cleared after that, delete the deployment and set it up again. |
Re-authenticate prompt appears |
K-Lens has lost sync with the camera service credentials. This should not happen in normal use. Contact your Karios administrator. Deleting and redeploying also clears it. |
Camera tile shows |
The camera stopped sending video. Check that it is powered on, reachable, and that its stream settings have not changed. |
Removing K-Lens
On K-Lens > Cameras, select Delete instance and confirm.
Warning
This cannot be undone. Deleting removes the K-Lens deployment and all recordings. Download anything you need to keep first.
You can set K-Lens up again afterwards. The camera image stays prepared, so a second setup skips straight to the form. A deployment cannot be deleted while it is still being created; wait for it to finish or fail first.